I remember my first experience with nail tips vividly. I had bought a cheap drugstore kit, glued them on without much thought, and within two days, they were popping off at the most inconvenient moments. I assumed artificial nails just weren’t for me. Then I discovered the difference between tips and forms—and everything changed.
Artificial nails are a fantastic way to add length, strength, and beauty to your hands. But understanding the two main methods—tips and forms—is the key to a successful, long-lasting, and natural-looking result.
What Are Nail Tips and Forms?
Nail tips are pre-shaped plastic extensions that are glued onto the end of your natural nail. They come in various shapes, sizes, and lengths, designed to extend the nail beyond the fingertip. Once glued on, they are blended into the natural nail and then covered with a layer of acrylic, gel, or dip powder for strength. Tips are the most common method for beginners and salons because they are quick, predictable, and require less sculpting skill.
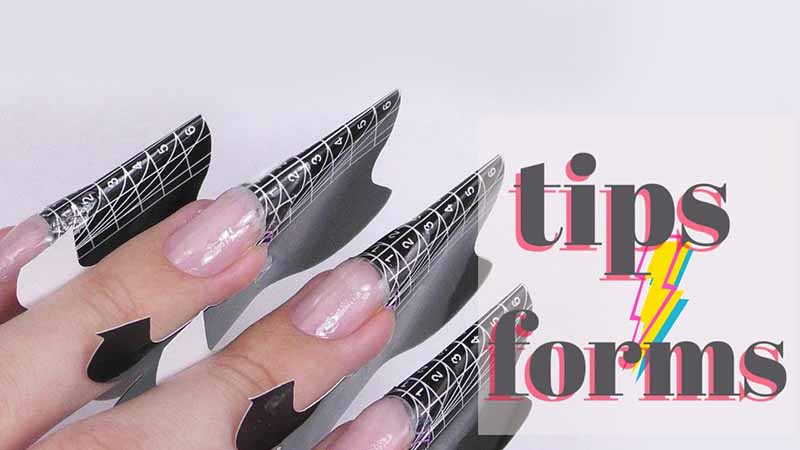
Nail forms, on the other hand, are not nails themselves. They are temporary paper or metal guides placed under the free edge of your natural nail. The technician then sculpts the nail extension using acrylic or builder gel directly onto the form. The form is removed after the product hardens, leaving a custom-built nail extension that grows seamlessly from your natural nail bed. Forms are the preferred method for professionals because they allow for a more natural-looking, custom-fit enhancement that follows the exact shape of your nail.
How to Choose Between Tips and Forms
Your choice depends on your natural nail shape, the desired result, and your skill level.
Choose nail tips if:
- You are a beginner or doing your own nails at home.
- You want a quick, predictable result with minimal sculpting.
- You want a specific length or shape that is available pre-made.
- You have relatively flat or standard nail beds.
- You are comfortable with blending and filing.
Choose nail forms if:
- You want a completely custom fit and natural look.
- You have curved or irregular nail beds that do not match standard tips.
- You want a seamless, growth-like extension.
- You have the skill and patience to sculpt the product.
- You prefer a lighter, more durable enhancement.
If you have flat nail beds, tips are generally easier to fit. If you have highly curved nails, forms may be the better option for a seamless transition.
The Artificial Nail Process: Step by Step
Applying Nail Tips
Step 1: Prepare your natural nails. Remove old polish, push back cuticles, and lightly buff the nail surface to remove shine. Wipe with a dehydrator to remove oils.
Step 2: Select your tips. Choose tips that match the width of your natural nails. The tip should cover the nail from sidewall to sidewall without overlapping onto the skin. If you are between sizes, choose the larger tip and file the edges.
Step 3: Apply the tips. Apply a small amount of nail glue to the well of the tip (the indented area that sits on your natural nail). Press the tip onto your nail at a 45-degree angle, starting at the free edge and rolling it down flat. Hold for 15-30 seconds. Make sure the tip is straight and centred.
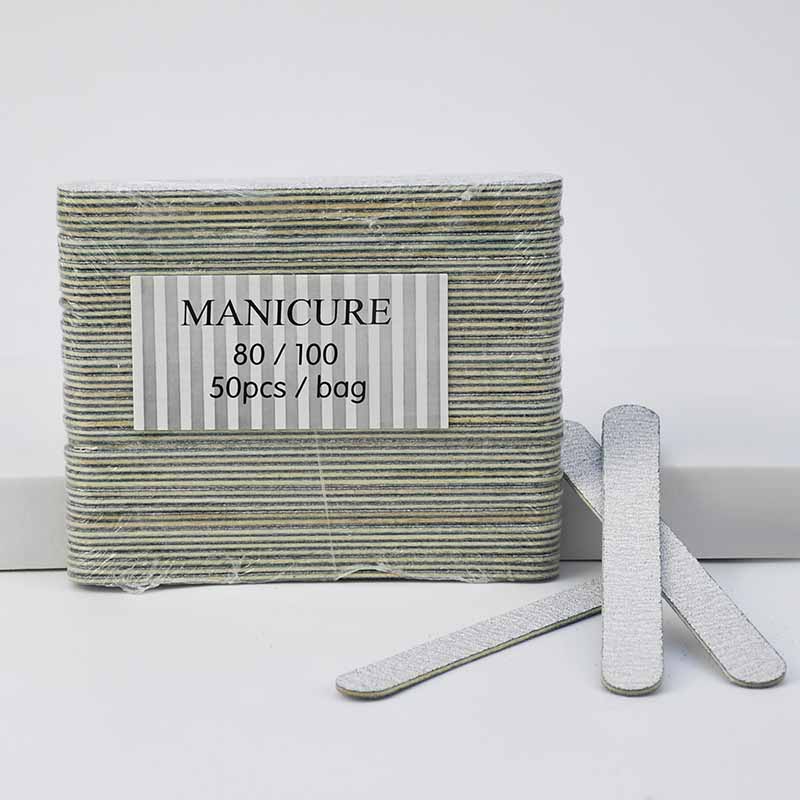
Step 4: Blend. Use a coarse nail file to blend the tip into your natural nail, creating a smooth transition. File the edges to match your natural nail shape.
Step 5: Apply overlay. Cover the nail with acrylic, gel, or dip powder to add strength and create a natural-looking surface. This overlay also helps blend the tip seamlessly into the natural nail.
Step 6: Shape and finish. Shape the nail to your desired style (square, oval, almond, etc.), buff, and apply colour or top coat.
Using Nail Forms
Step 1: Prepare your natural nails. Same as above—remove polish, push back cuticles, buff, and dehydrate.
Step 2: Apply the form. Choose a form that matches your nail size. Slide it under the free edge, aligning it with the natural curve of your nail. The form should be positioned so that it creates a smooth, even extension. Some forms are adhesive-backed; others are held in place by the pressure of the product.
Step 3: Sculpt the extension. Using a bead of acrylic or builder gel, sculpt the extension directly onto the form. Place a bead at the apex (the stress point) and gently push it toward the cuticle and pull it toward the free edge. Build the apex, create sidewalls, and shape the nail.
Step 4: Cure or harden. If using gel, cure under a UV/LED lamp. If using acrylic, allow it to harden in air.
Step 5: Remove the form. Gently lift the form from under the nail, sliding it out. The extension should hold its shape.
Step 6: File and finish. Shape the nail to your desired style, buff smooth, and apply colour or top coat.
How to Remove Artificial Nails Safely
Removing artificial nails is a process that requires patience. The method depends on the product used.
For Soft Gel or Acrylic (Soak-Off Method)
- File the top coat. Gently file the shiny top layer to break the seal.
- Soak and wrap. Saturate a cotton ball with 100% pure acetone. Place it on the nail and wrap the fingertip with aluminium foil. Wait 10-15 minutes.
- Gently push. Unwrap one nail. The product should look soft and cracked. Using a wooden cuticle pusher, gently push the softened product from the cuticle toward the free edge.
- Never scrape. If product resists, rewrap and wait another 5 minutes.
- Buff and hydrate. Once all product is removed, gently buff any residue. Wash hands and apply cuticle oil generously.
For Hard Gel (File-Off Method)
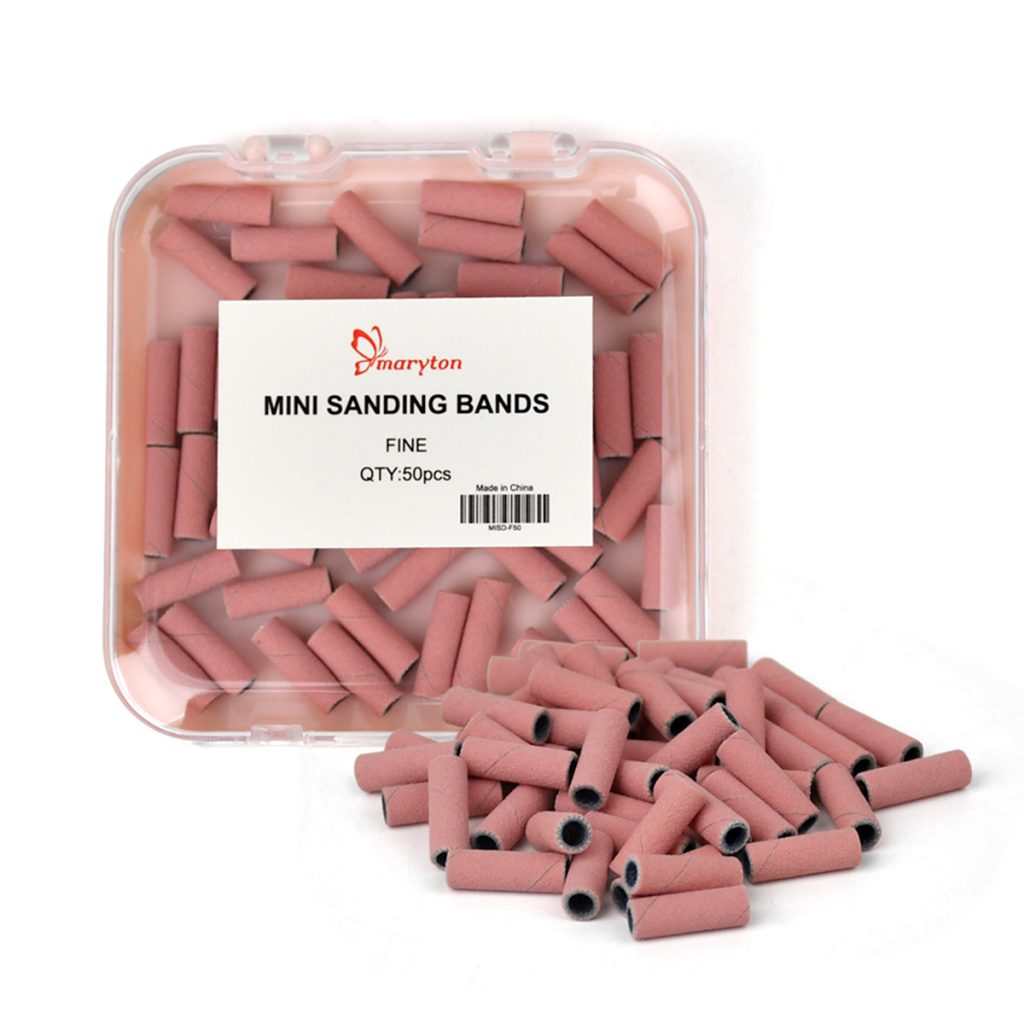
Hard gel cannot be soaked off. It must be filed off using an e-file with Mini sadning bands.
- Use a coarse bit to gently remove the bulk of the product.
- As you approach the natural nail, switch to a finer grit.
- Stop when you reach a thin layer of product—do not file down to the bare natural nail. This thin layer acts as a protective shield.
The Bottom Line
Nail tips and forms are both effective ways to achieve beautiful, long-lasting artificial nails. Tips are quick, predictable, and beginner-friendly, while forms offer a custom-fit, seamless result that grows beautifully with your natural nail. The key to success is proper preparation, careful application, and gentle removal. With practice and the right technique, you can achieve salon-quality results at home.